Please get in touch to see how we can support you on your next Power Supply Application project.
Find out moreProducts
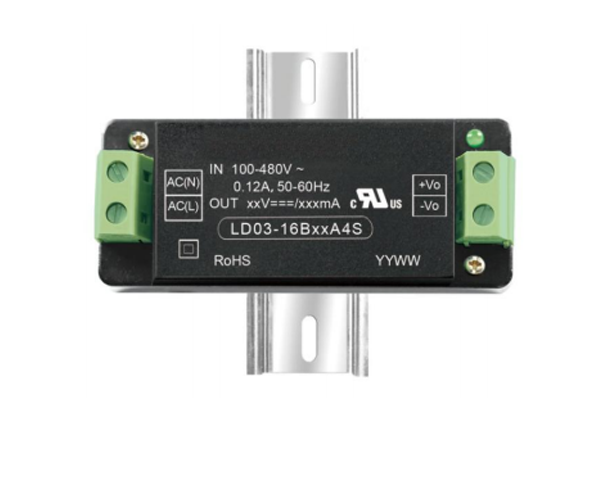
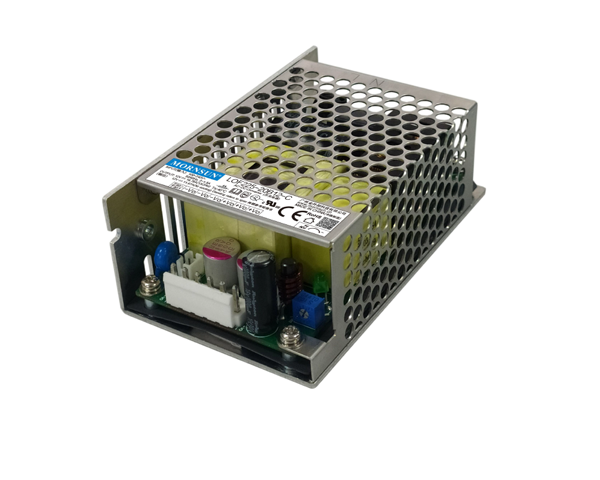
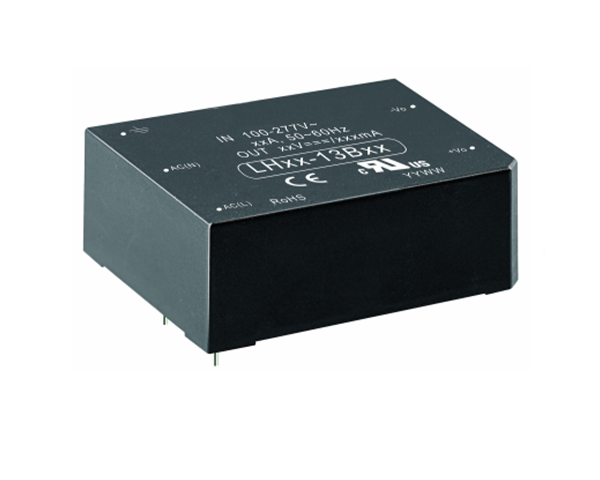
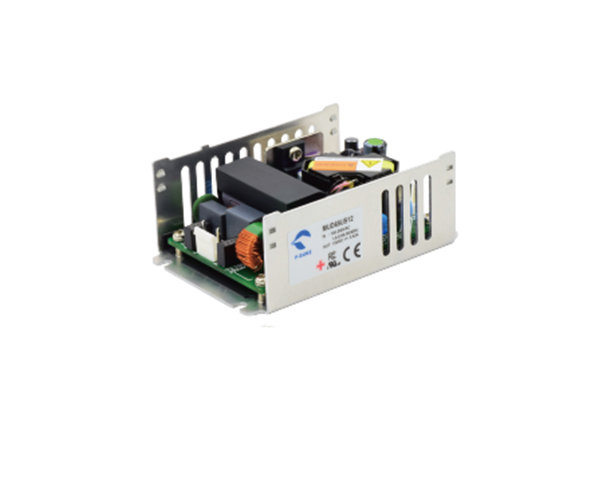
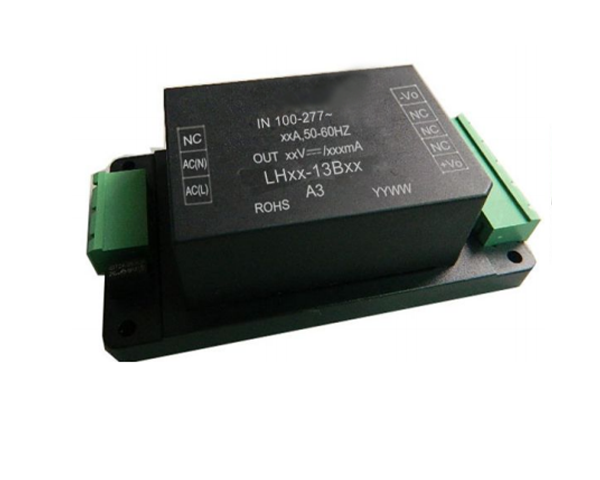
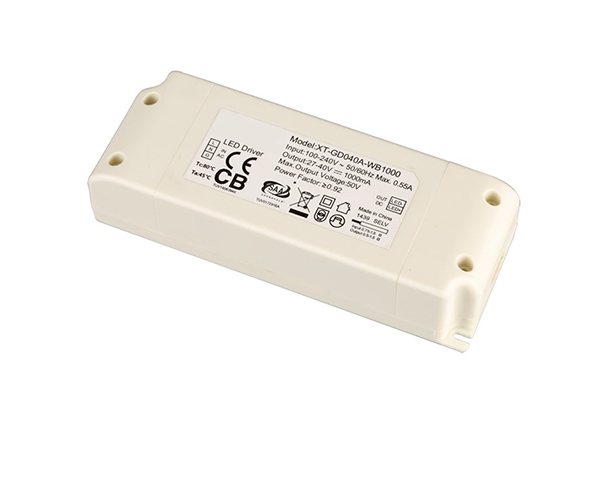
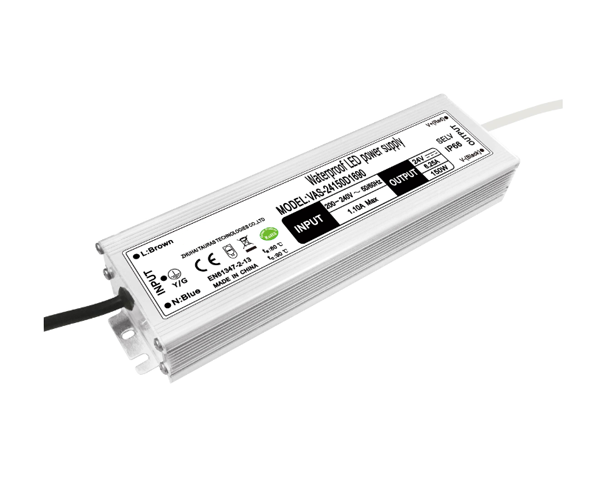
Products by format:
.png)
.png)
.png)
.png)
Product by Application:
Products by format:
.png)
Product by Application:
Products by format:
Product by Application:
Products by format:
Product by Application:
Products by format:
.png)
Product by Application:
Products by format:
Product by Application:
Products by format:
.png)
.png)
.png)
Product by Application:
Distributors
![]()
![]()
![]()
![]()
![]()
![]()
Visit our disributors
ABOUT OUR PARTNERS